WebM Screen Recording: What It Is and When to Use It
Understand WebM screen recordings, why browser tools use the format, and when it is a good fit for demos and support videos.
WebM is an open, royalty-free video format developed by Google that uses the VP8 or VP9 video codec with Opus audio. It is the default output format for browser-based screen recording tools because Chrome’s native MediaRecorder API produces WebM natively — no server-side conversion, no external software. At comparable quality settings, WebM files are typically 30–50% smaller than equivalent MP4 recordings, which makes them well-suited for attaching to tickets, sharing over Slack, or embedding in internal documentation.
Understanding when WebM is the right choice — and when to convert to MP4 — helps you pick the right workflow for your recording goals.
What Exactly Is WebM?
WebM is an open video format developed by Google and designed specifically for the web. It typically uses the VP8 or VP9 video codec paired with the Opus or Vorbis audio codec, all wrapped in a Matroska-based container. If that sounds technical, the short version is this: WebM was engineered to deliver good video quality at small file sizes, and it was built to work natively in web browsers.
Unlike proprietary formats that require licensing fees or specific software to encode and decode, WebM is royalty-free. That openness is part of why browser APIs — the underlying technology that makes screen recording possible inside Chrome — default to producing WebM output.
Why Browser Recording Tools Use WebM
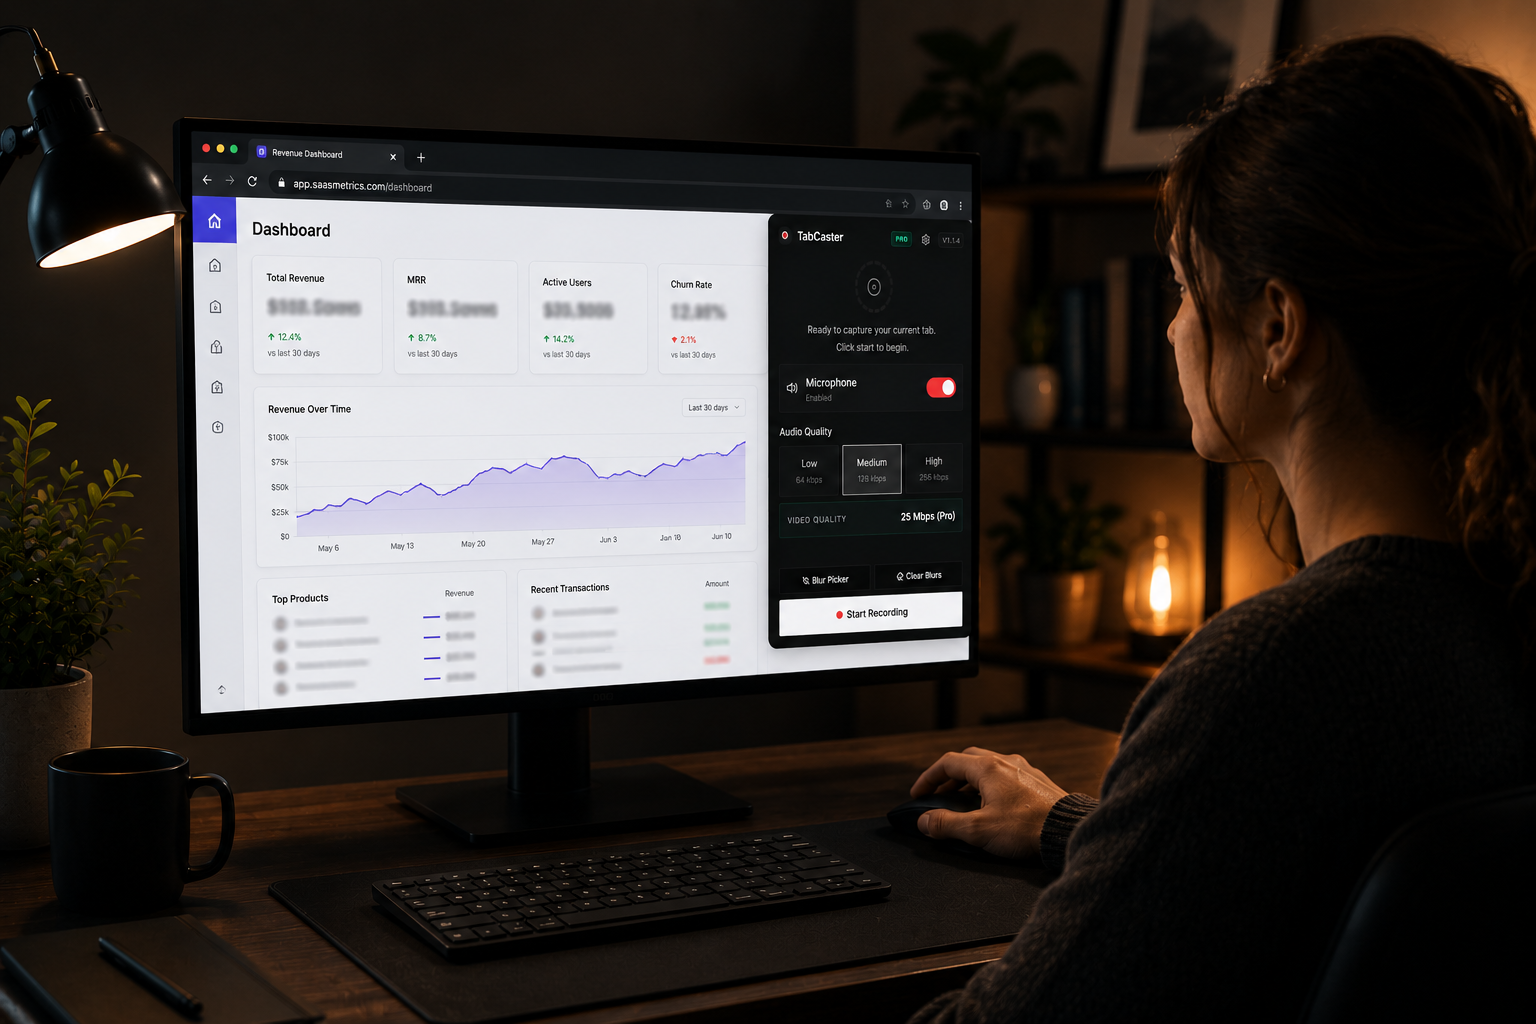
When you use a browser extension like TabCaster to record a tab, the extension relies on the MediaRecorder API built into Chrome. This API captures video and audio streams directly from the browser and encodes them in real time. The most widely supported output format for MediaRecorder is WebM.
This is not a limitation — it is actually an advantage. Because the browser handles the encoding natively, there is no need for external software, server-side processing, or heavyweight codecs running on your machine. The recording happens efficiently, locally, and produces a file that can be played back immediately in any modern browser.
The result is a workflow that feels almost instant: click record, do your thing, click stop, and your video is ready in your Downloads folder. No waiting for uploads, no conversion step, no dependencies.
When WebM Is the Right Choice
For many common recording scenarios, WebM is more than sufficient. It works well when you need to share a quick demo with a colleague over Slack or email, attach a bug report video to a Jira ticket, embed a walkthrough in internal documentation, or review a recording yourself before deciding whether to keep it.
In these cases, the people viewing your video are almost certainly using a modern browser — Chrome, Firefox, Edge, or Opera all play WebM natively. There is no need to convert the file or worry about compatibility. You record it, share it, and the recipient watches it directly.
WebM also tends to produce smaller files compared to equivalent-quality MP4 recordings, which matters when you are attaching videos to issue trackers or sending them through messaging platforms with file size limits.
When You Might Need Something Else
WebM is not the right format for every situation. If you are publishing content to YouTube, social media platforms, or professional video hosting services, most of those platforms prefer or require MP4. While YouTube does accept WebM uploads, the processing can be slower, and some platforms do not support it at all.
Older video editing software can also struggle with WebM files. If you plan to edit your recording extensively — adding titles, trimming segments, combining multiple clips — you may want to convert to MP4 first. Tools like FFmpeg, HandBrake, or CloudConvert make this conversion straightforward.
Apple’s ecosystem has historically been less friendly to WebM as well. While Safari added WebM playback support relatively recently, some older macOS and iOS versions may not handle it smoothly. If your audience is primarily on Apple devices, it is worth testing playback before committing to WebM as your distribution format.
A Practical Approach
The simplest strategy is to treat WebM as your capture and working format. Record your browser tabs in WebM because that is what the browser produces natively and efficiently. Share WebM files whenever your audience is viewing them in a browser, which covers the vast majority of internal and team-based use cases.
When you need to publish externally or edit professionally, convert the WebM file to MP4 using whatever tool you prefer. Keep the original WebM as your archive copy — it is the highest-fidelity version of what you recorded, and you can always convert it again later if needed.
This way, you get the speed and simplicity of browser-native recording without limiting yourself when the destination requires a different format.